Installing Polyglot Notebooks
Installing a dotnet notebook environment for experimentation
Polyglot Notebooks is a powerful new interactive notebook technology that lets you run experiments in your editor, mix together code and rich documentation, and write code in a variety of languages to accomplish your tasks.
This article will guide you through the setup process to get Polyglot Notebooks running on your machine so you can do local data science and analytics notebooks using dotnet.
Install VS Code
The first thing you should do is download and install Visual Studio Code.
Visual Studio Code, also called VS Code, is a free and open-source cross-platform code editor that allows you to develop code in a wide variety of languages through a rich ecosystem of editor extensions.
To get started, you’ll need to install the appropriate version of VS Code for your operating system from the VS Code download page.
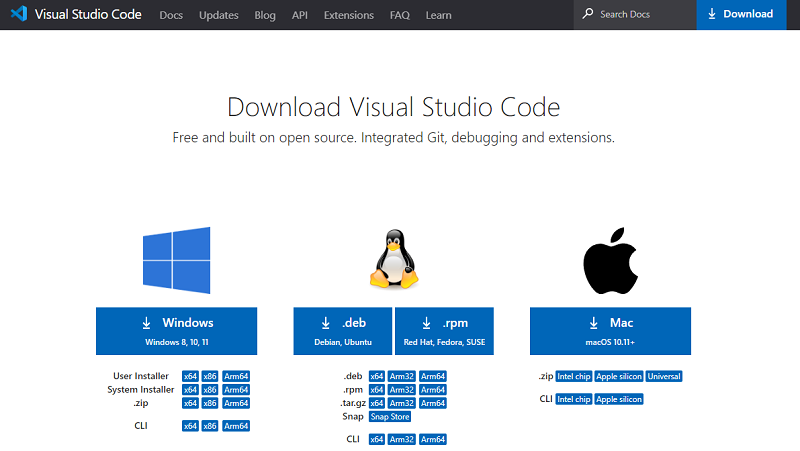
The exact instructions will vary depending on your operating system so follow the installation instructions for your operating system.
Install the .NET SDK
Polyglot Notebooks rely on .NET to power notebook code. As such they require the .NET SDK to power the internals of the notebook.
Of course, .NET is free, open-source, and cross-platform as well, so it is easy to install and get running.
At the time of this writing, .NET 7 is the most recent stable version of .NET available and is the recommended version you should install to get started with Polyglot Notebooks.
To install .NET 7, go to the Download .NET 7.0 page and download and install the appropriate installer for your operating system.
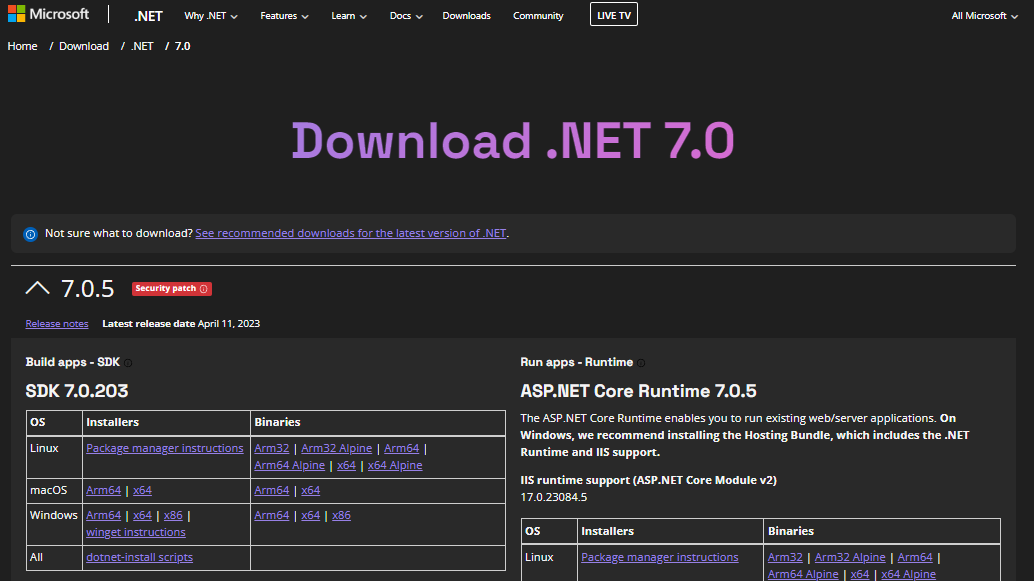
Note: generally you’ll want the latest version of the SDK to get the latest available security patches, but the exact version number you install generally won’t matter
Reboot
Once you’ve installed VS Code and .NET 7.0 I strongly recommend you close all applications and restart your system. I’ve seen a number of points of frustration arise from not doing so, so I’ve made rebooting its own section here.
Go reboot your machine. Seriously.
Okay, now it’s time for the fun stuff.
Install VS Code Extensions
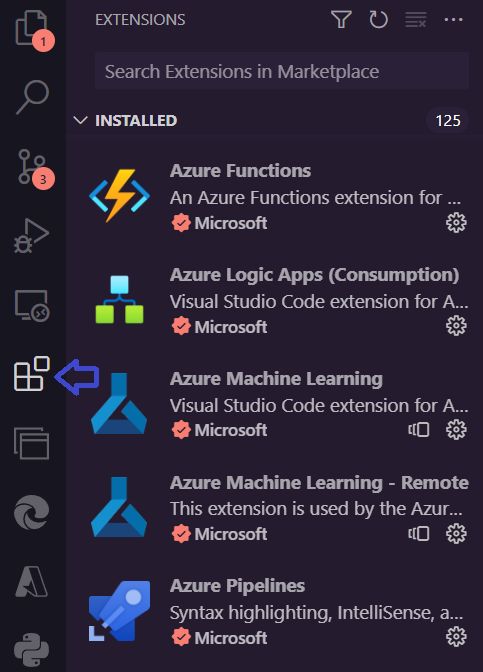
Next, launch VS Code and find the extensions tab on the left sidebar. The extensions tab has an icon with 4 blocks being assembled into a square as shown below.
Now, you should search for and install the following extensions:
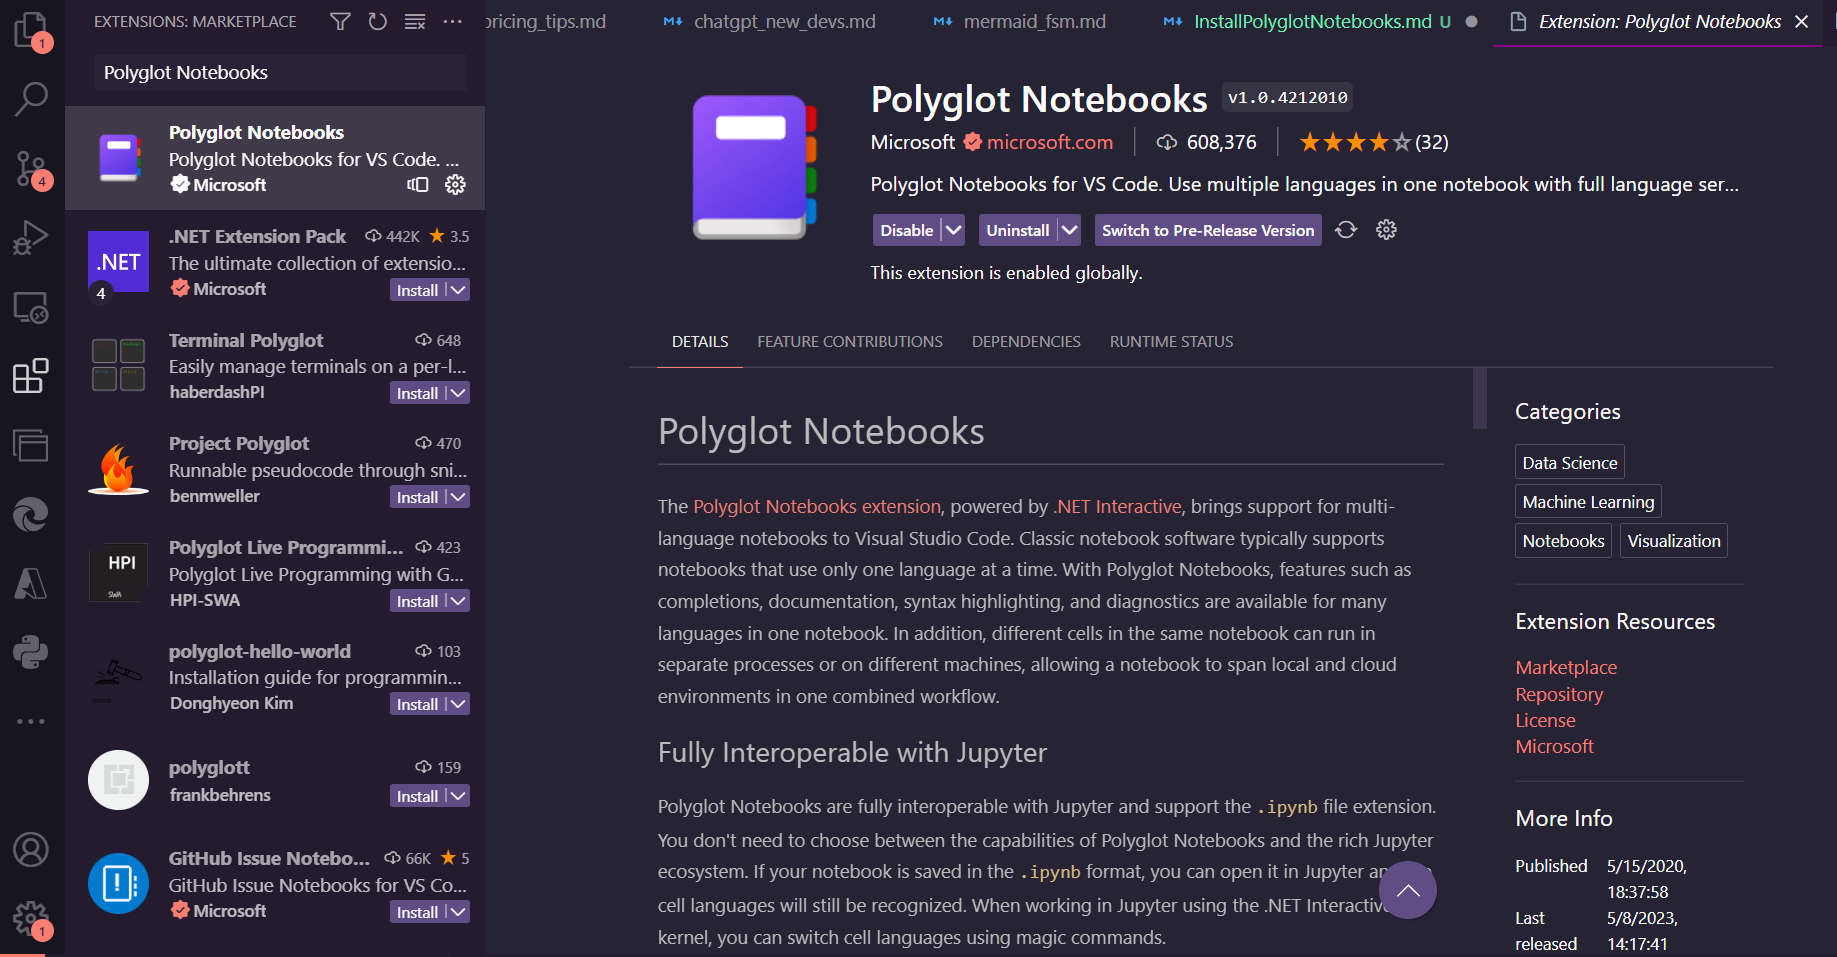
These extensions will set you up for a good data analytics, data science, and software engineering experience using dotnet and VS Code.
Once you have installed these extensions, click the “Reload Required” button or close and reopen VS Code to ensure these extensions are properly loaded.
Running Polyglot Notebooks
To validate that Polyglot Notebooks are correctly loaded, hit Control + Shift + P or the operating-system appropriate keyboard shortcut to bring up the VS Code command palette.
Once the command palette is up, type in Polyglot and search for the Polyglot Notebook: Create default notebook command.
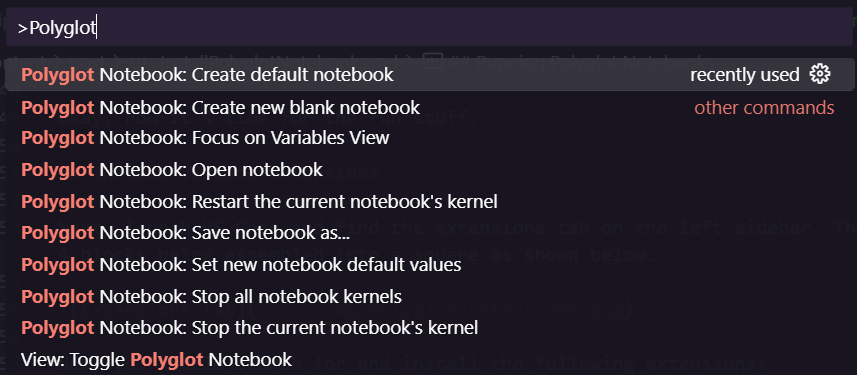
This should prompt for you to select .dib or .ipynb as a file format and then a language choice after that. Select .dib and then C#.
Once that is complete, you should see an empty code cell. Type in Console.WriteLine("Hello Polyglot"); and then click the “play” button to run your cell.
You should see “Hello Polyglot” appear below your cell if all is functioning properly, as shown below.

You are now configured to be able to create and run Polyglot Notebooks using VS Code.


